Planning an Estate Entrance From Road to House
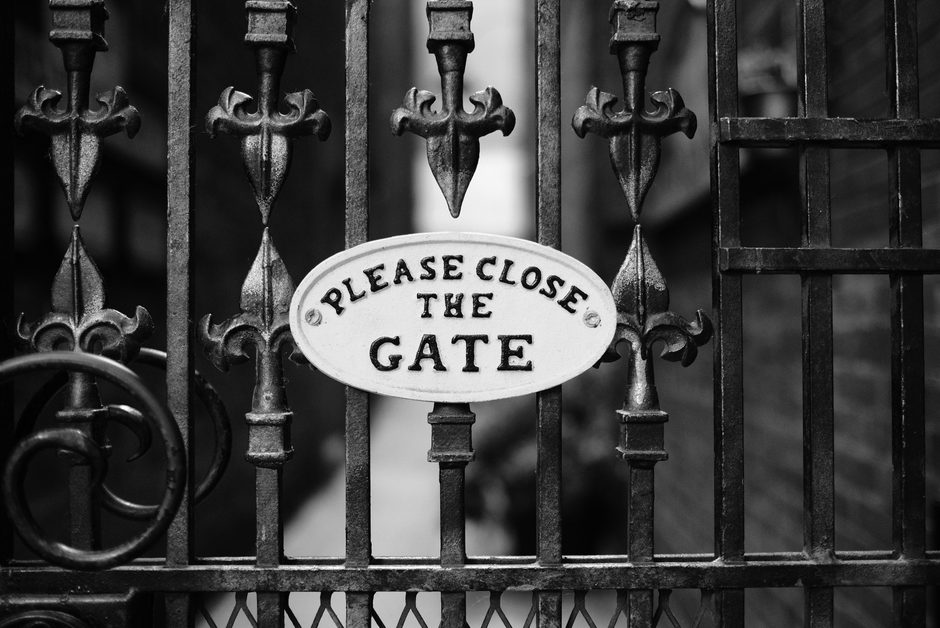
The best way to plan an estate entrance is to walk it from the road to the house and decide each piece in order. A homeowner in Leander who does this first, with a notepad, ends up with an entrance where the gate, the piers, the power and the driveway all agree with one another.
Start at the Road

Stand where the driveway meets the road and look at what a driver sees. Traffic speed, visibility in both directions and the angle of approach all influence where the gate belongs. Roads near the 183A Toll Road corridor can be busy at commute hours, and a vehicle waiting for a gate to open should never sit in the lane.
Note any utility boxes, drainage ditches, mailboxes and trees near the edge. Each one limits where piers, footings and swing space can go. Marking them on a sketch now saves a surprise later, when a trench meets a buried line.
Decide the Setback

The setback is the distance from the road to the gate. Give a car, and ideally a truck with a trailer, enough room to stop without blocking traffic. A longer setback also gives the entrance a more gracious look, because the approach feels like part of the property rather than a wall on the roadside.
Setback and entrance requirements differ by property and road, so confirm what applies to your lot with the proper local office. An installer who works across Williamson County will know which questions to ask, but the answer for your lot has to come from the people responsible for it.
Choose the Layout
Most estate entrances use a pair of swing leaves, because two shorter leaves are lighter and easier to hang than one very long one. A sliding gate is an option when there is a long wall or fence line beside the entrance and flat ground for the track. Slope matters in both cases. A steep driveway may call for a layout that keeps the leaf from scraping the ground or running away.
Think about swing direction as well. Inward-opening leaves need a clear arc inside the entrance, and outward-opening leaves need a clear arc outside. Either way, plan for the arc to stay clear of landscaping, utility boxes and parked vehicles.
Plan the Footings Early
Limestone soil sits close to the surface across much of the area, so footings for piers and posts are rarely a simple digging job. Expect an installer to check depth and bearing at each location. If rock appears early, the plan may change to use heavier drilling or anchoring into the stone. That is normal, and it is better to learn it before the gate is ordered.
Piers made of stone or masonry weigh much more than steel posts and need their own footings sized for that load. Ask whether the hardware will attach to a steel core inside the pier. A pier that was only decorative cannot carry a heavy leaf for long.
Bring Power and Control Wiring to the Gate
Electric operators need power, and the control system needs wiring for keypads, intercoms and safety devices. On a long driveway near Liberty Hill, the gate may sit hundreds of feet from the house. Running conduit that distance through limestone is slow and should be done before the driveway surface is finished. Pulling a few spare lines at the same time costs little and keeps options open.
Solar charging can work where trenching is hard, but batteries must handle summer heat and shorter winter days. Ask how the system handles a week of cloudy weather and what the backup plan is when charge runs low.
Think About Heat
Texas Hill Country summers are hard on finishes, batteries and control boards. When choosing where the operator cabinet goes, look at where the afternoon sun falls. A cabinet in partial shade lasts longer than one baking in full exposure. The same thinking applies to keypads and intercom panels, which can become too hot to touch and hard to read.
For the gate itself, a well-prepared coating over clean steel resists sun far better than a quick coat over old paint. Dark colors absorb more heat, which is worth remembering when picking a finish for a surface that faces west.
Decide How People Will Get In
List everyone who needs to come through the gate and how often. Family members want speed, regular visitors want a method that does not require someone to be home, and delivery drivers want something simple. Remotes, keypads and intercoms each fit a different group, and most households end up using a mix.
Think also about who needs to enter on foot. A small pedestrian gate beside the main leaves lets a person walk in without opening the whole entrance, which saves wear on the operator and avoids leaving the large gate open longer than necessary.
Plan for Safety
Heavy gates move with real force, so safety devices matter. Photo eyes, contact edges and obstruction sensing protect children, pets and vehicles. Ask how each device is mounted and how it is tested. A safety system that is installed and then never checked gives a false sense of protection.
Know where the manual release is and how to use it. During a storm or power cut, someone will need to move the gate by hand, and it is much better to have practiced that once than to learn it in the dark.
Make Lighting Part of the Plan
Lighting at the entrance helps visitors find the keypad, helps drivers see the gate at night and adds to the look of the piers. Low-voltage fixtures on the piers or along the approach can share a conduit run with the operator power if planned together. Adding lighting later often means cutting into finished work.
Walk Through the Sequence
A sensible order is to settle the setback and layout, set the footings, build the piers, run the conduit, hang the leaves, install the operators, then test the safety devices and access methods. Skipping ahead causes the most common problems, such as hanging a leaf before the concrete has cured or pouring a driveway before the conduit is in.
Check Everything After Installation
Before the installer leaves, test the gate through full cycles in the heat of the day, with the remotes, the keypad and the intercom. Check the safety devices, practice the manual release and confirm the leaves meet cleanly at the center. Ask for a short note on what was installed and how to adjust or reset it.
A well-planned estate entrance feels effortless to use, and that comes from decisions made at the start, walking the route from the road to the house and asking what each piece needs before anything is built.
Keep the Entrance in Proportion
An estate entrance should feel in proportion with the house and the lot. Piers that are too tall or leaves that are too ornate for a modest approach can look out of place, while a plain gate on a grand drive can feel unfinished. Looking at similar entrances around Leander and Cedar Park helps clarify what suits your property.